Fresh and crunchy, Homemade with your own taste
I have been craving crunchy kimchi for a long time in Germany. It is so difficult to find because the ones made in Korea already go quite sour and soft after they are shipped here. Yeah I know sour kimchi can be made into kimchi stew but still. I just really want a fresh bite of kimchi with tangy spicy kimchi juice bursting from the cabbage stem (best part of kimchi in my opinion). So there’s no other way but make it on your own.
Quicker, easier, and accessible
The problem is that traditional kimchi making process takes a long time to brine the large pieces of kimchi. It’s a labor of love for the Koreans (I guess?). And when you actually wanna eat it, you have to cut it every time, which doesn’t really make sense to me because I would just be too lazy and it would just sit in the fridge forever. I am not korean so no emotional attachment to the process of kimchi making, just a broke student who would love some tasty kimchi the easiest and cheapest way possible. Soooo, after watching a lot of quick kimchi videos and multiple attemps, I came up with this kimchi recipe that is way more manageable for singles with commonly available ingredients and lower commitment of
My version is pungent, spicy, not as salty and slightly sweeter compared to the store bought ones. It is adapted from a Korean chef living in Taiwan. This is his video (it’s in chinese). You can always change the ratio of the seasonings according to your taste. One thing I highly suggest not to skip is the rice flour paste. I have seen many fast kimchi recipes without the paste and tried it myself. I find that it doesn’t fermant as properly when skipped and it’s lacking that tang. The reason is that the rice paste helps feeding the good bacteria (probiotics).
Highlights
- Efficient home made kimchi in a few hours
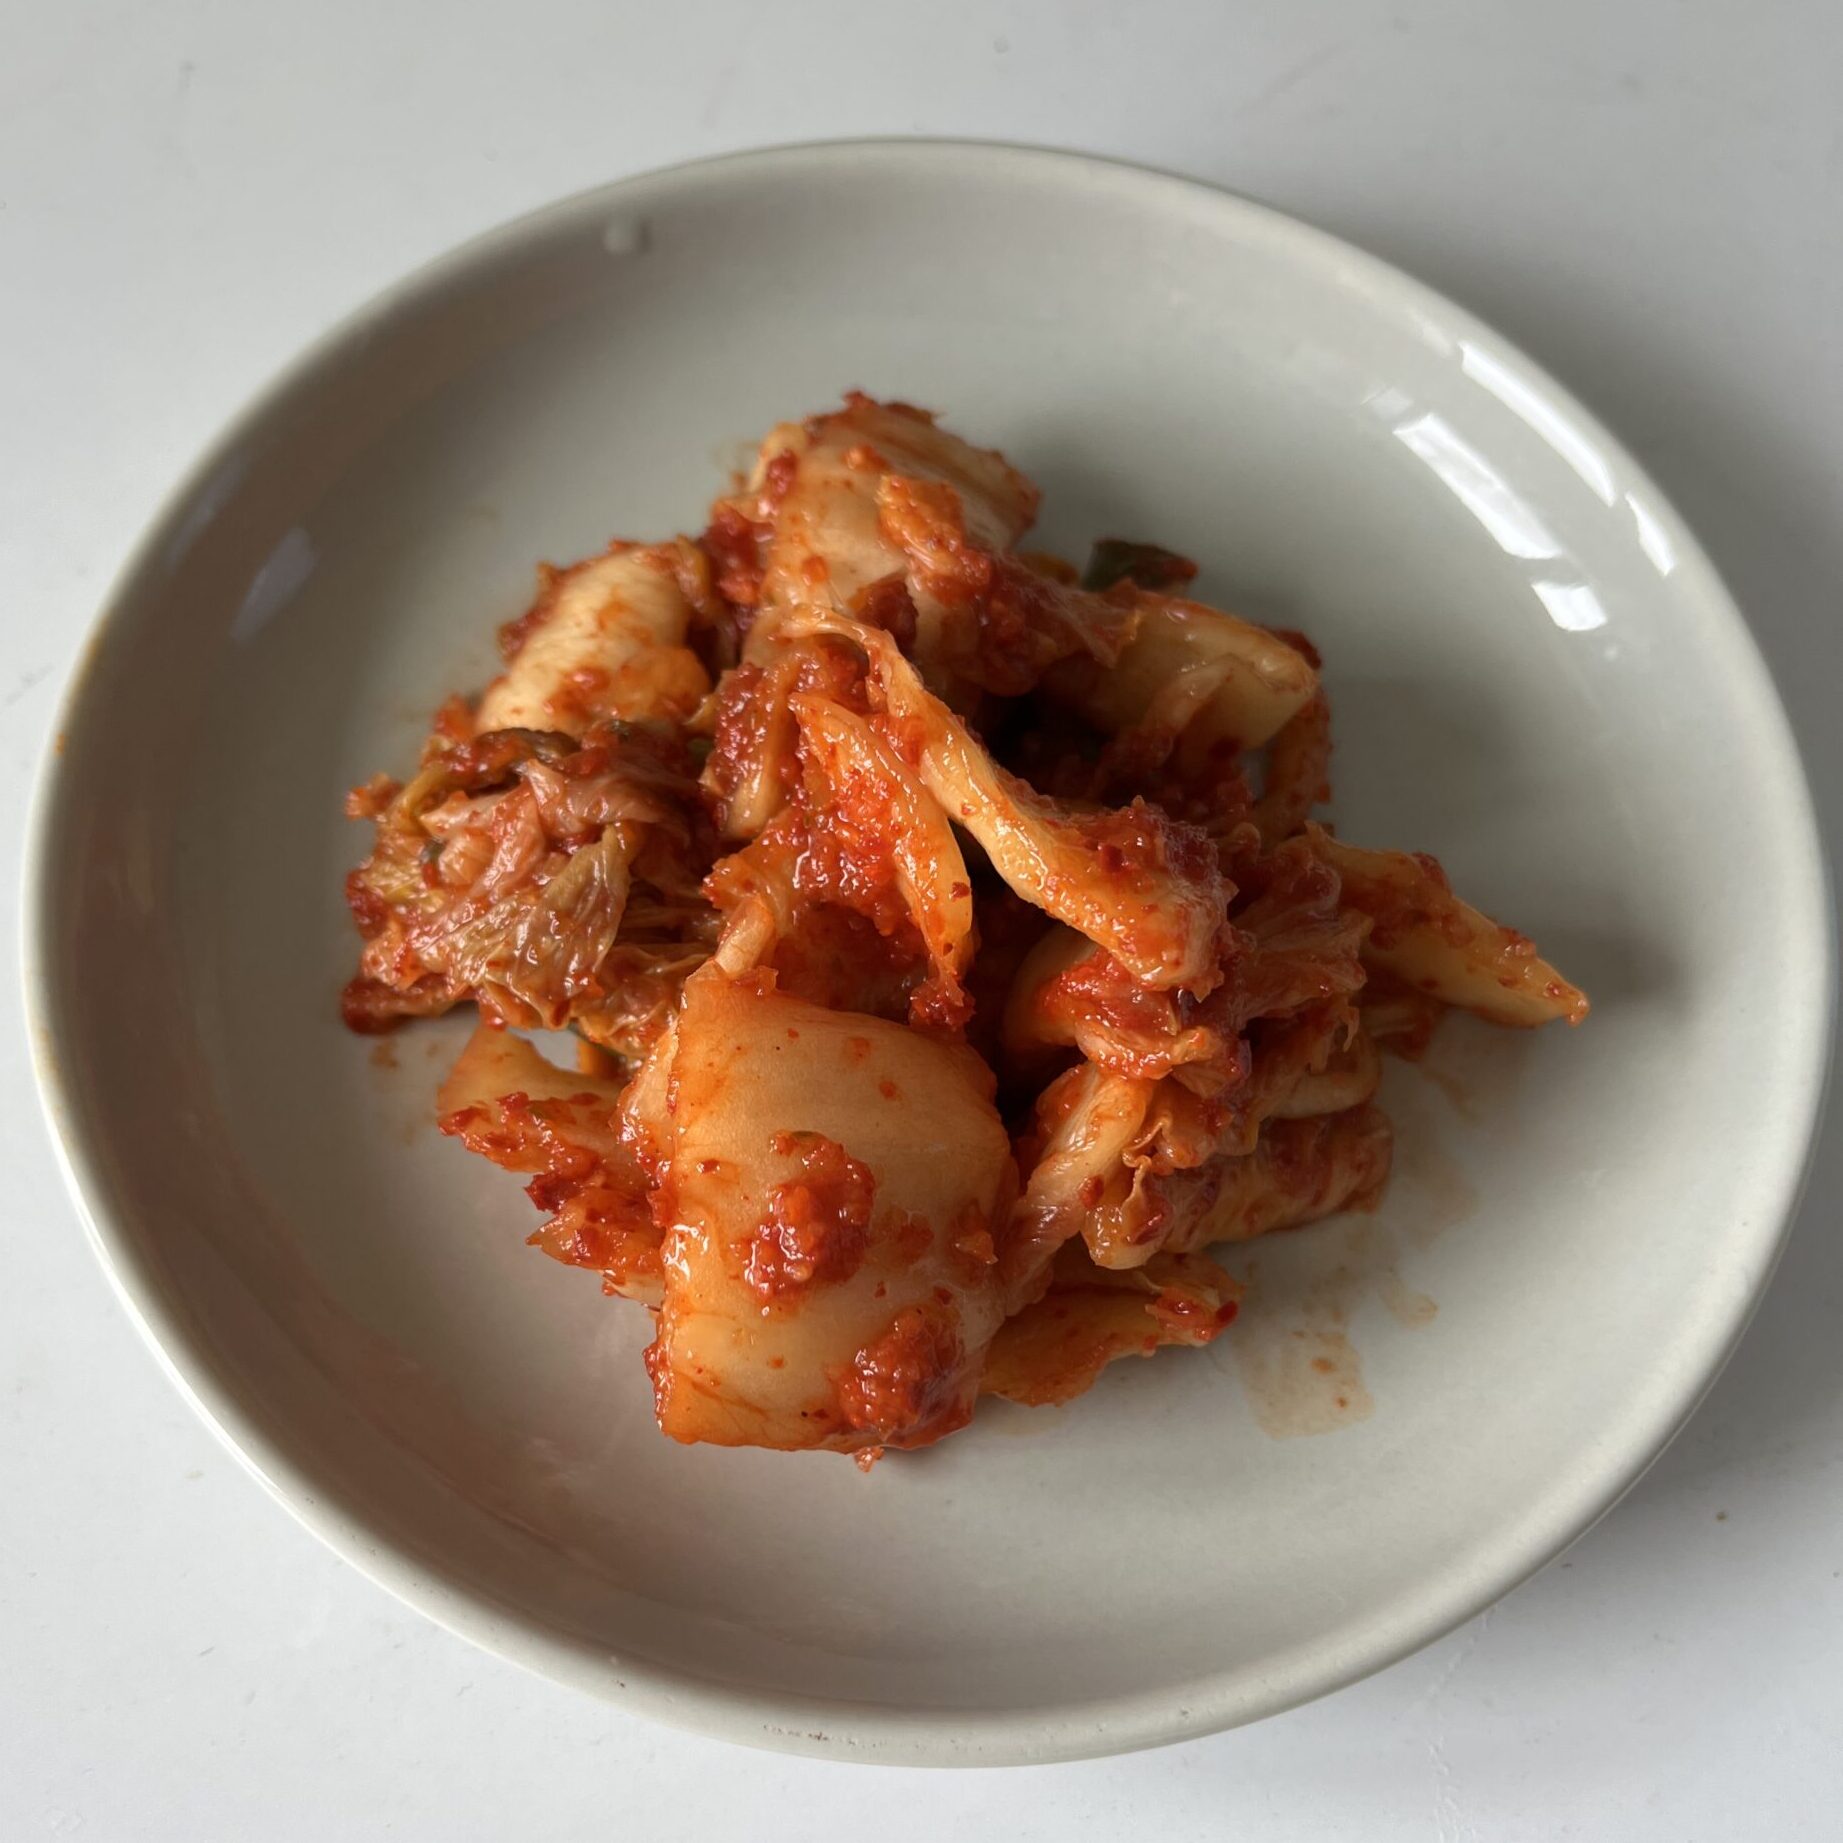
- The crunch and freshness you can’t find in jar or tin kimchi in supermarkets

Quick Shortcut Kimchi
Equipment
- 1 Food Processor
- 3 Clean Glass Jars (400ml each, boil to sanitize beforehand)
Ingredients
Brining
- 1 Napa Cabbage
- 40 g Salt
- 3-5 Tbsp Water
Rice Flour Paste
- 15 g Sticky Rice Flour
- 150 g Water
Sauce
- 60 g Apple (half medium)
- 60 g Daikon Reddish
- 10 g Ginger (the size of half a thumb)
- 2 stalks Green Onion
- 60 g Onion (half medium)
- 30 g Garlic (1 head)
- 25 g Sugar
- 50 g Fish Sauce
- 90 g Gochugaru (korean red chili flakes)
Extra Veggies (Quantity is flexible)
- 50 g Daikon Reddish
- 50 g Carrot
- 3-5 stalks Green Onion
Instructions
Brine the Cabbage
- Cut 1 Napa Cabbage into approx. 2 cm wide peices and wash thoroughly.

- Add 40 g Salt to 3-5 Tbsp Water. It won't completely dissolve but the water helps to distribute the salt on the cabbage later.
- Cover the cabbage with the salt water making sure all the pieces get a bit of salt.
- Set aside for 2 hours. Check and mix it occasionally. The cabbage pieces should almost soak in their own juice completely.

Rice Flour Paste
- Cook 15 g Sticky Rice Flour and 150 g Water together on medium heat until it looks pasty like pudding.

Sauce
- Wash and cut 60 g Apple, 60 g Daikon Reddish, 10 g Ginger, 2 stalks Green Onion, 60 g Onion30 g Garlic. Then blend them into a sauce base in a food processor.
- Add 25 g Sugar, 50 g Fish Sauce, the rice flour paste made earlier and blend again till combine.

- Mix the sauce with 90 g Gochugaru and set aside until the cabbage is ready.

Extra Veggies
- Cut 50 g Daikon Reddish, 50 g Carrot and 50 g Carrot into thin stripes and set aside.
Mix and Jar
- Remove the extra water in the brine cabbage and wash the cabbage twice with clean water.
- Squeeze the cabbage to remove the excess water.
- Combine the cabbage, other veggies, and the sauce paste. You might not need all the sauce. You can use the extra sauce for other dishes like cucumber salad.

- Put the kimchi mix in the clean boiled jars. Make sure to push the kimchi so that there's as little air left in the jar as possible to create a good fermentation enviroment where bad bacteria don't grow. But leave some room on the top surface, as it will produce some bubbles during fermentation.
- Tightly cover the top surface with cling film to make sure the kimchi doesn't have direct contact with the air. Then screw on the lid.

- Let sit in a cool dark corner of your kitchen in room temp for 18-24 hours depending on how hot the weather is. (I need 24 hours at cool summer time in Germany. approx. 23 degrees climate.)You may need more or less fermentation time. Check and taste the sourness of the kimchi, it should be slightly tangy.
- Then transfer and store the kimchi in the fridge once you are happy with the tang. The kimchi will continue to fermant slowly in the fridge and gets more sour over time.
Leave a Reply