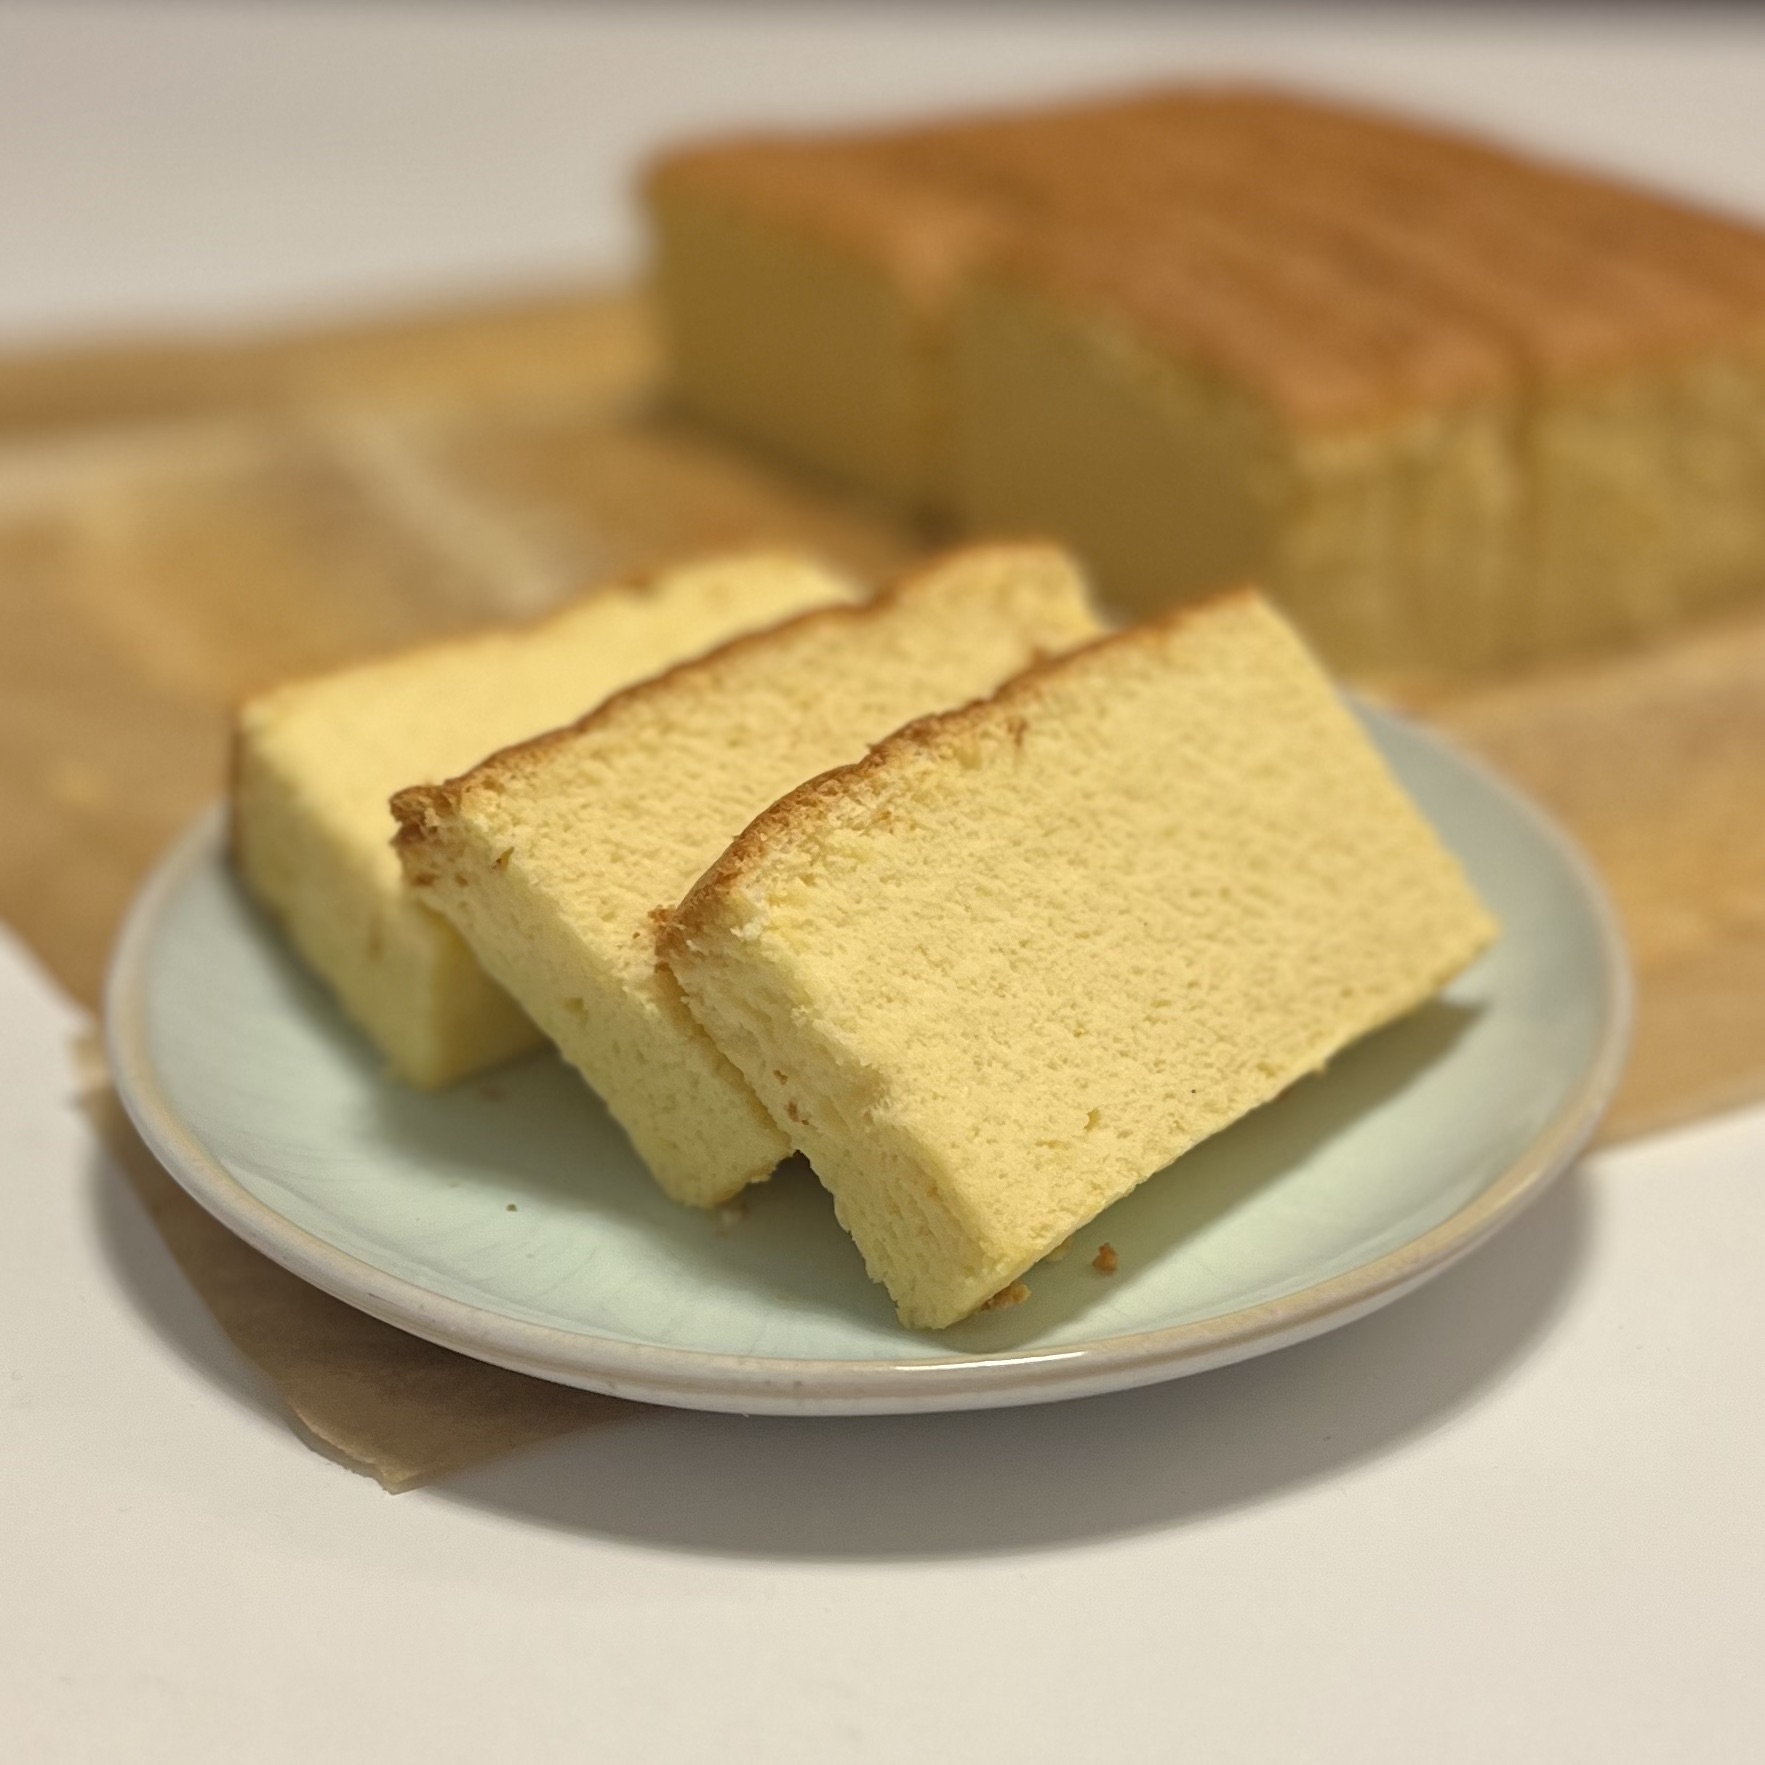
Jiggly Cake, Fluffly Like a Cloud
Taiwanese castella cake is known for its cloud-like texture thanks to the scalding (燙麵 tang-mian) and water-bath techniques. Tang-mian means that we first heat up some oil and use it to “scald the flour”, so that the final product would be extremely soft and fluffy. As for the water-bath method, we place the cake pan inside a tray with hot water while baking. This prevents the cake surface from cracking and the cake retains more moisture. That’s why Taiwanese Castella Cake is super fluffy, tender, and moist. And it jiggle jiggles!
Taiwanese Take on Japanese Cake
Taiwanese castella cake’s origin is the Japanese castella cake, The castella cake was brought to Taiwan during the Japanese colonial period. Over time, we adapted it to something new.
While the japanese castella is denser and sweeter, the taiwanese castella cake is fluffy, soft, pillowy-looking, and has a soufflé-like texture. Tbh, they are basically different cakes at this point.
Nostagic Taiwanese Taste
In Taiwan, this cake is called “古早味蛋糕”, which literally translates to “old-time flavor cake”. There is no perfect translation, but it means the taste is nostalgic and it somewhat conveys the idea that the food is comforting. Same goes with specific black tea, egg crepes in taiwan. When we say something is “古早味”, it means that the taste is the same as how it was in the good old time, and it kinda makes you think of your grandma.

Highlights
- It jiggly-jiggles 😳
- Incredibly soft and fluffy from the water-bath and scalding techniques
- Light and delicate flavor with hints of honey.
- Perfect for an afternooon coffee break or a light desset after a hearty meal
Taiwanese Catella Cake
Equipment
- 1 electric hand mixer or stand mixer
- 1 20cm x 20cm square baking pan 8 inch x 8 inch
- 1 larger baking tray for the water bath
- 1 thermometor
Ingredients
- 6 Large Eggs approx. 300 – 320g without shell
- 70 g Neutral Oil e.g. canola or sunflower seed oil
- 100 g Milk
- 40 g Honey
- 1 tsp Vanilla Paste or vanilla extract
- 100 g Cake Flour
- 70 g Sugar
- 1 tsp Lemon Juice
Instructions
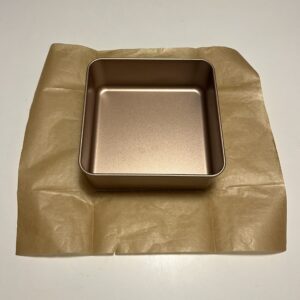
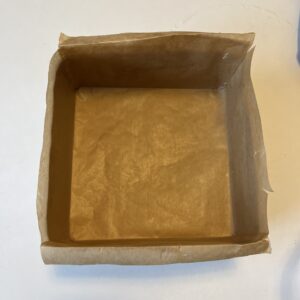
Line the smaller pan & prep the ingredients
- Use the backside of the pan as a guide to fold the baking paper into a square, then unfold it. Make sure each side is wide enough to cover the edges of the pan.
- Snip along either of the folded lines at each corner. Cut only up to the corner point to create flaps.
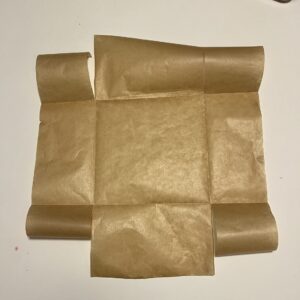
- Place the paper inside the pan with the corner flaps overlapping at the back of the adjacent side.
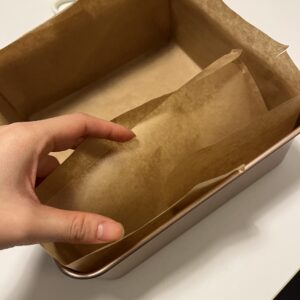
- Optional: use some butter or margarine to stick the flaps with the sides and the pan to hold them together.
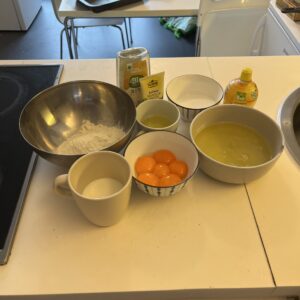
- Separate the egg whites and egg yolks. (6 Large Eggs) Set the yolks aside and put the whites to the fridge.
- Measure out everything in separate bowls. (I usually do everything except for the ones in squeeze bottle or ingredients measured in spoons because I just measure the whole bottle as I squeeze, so no extra dirty dishes.)
Scalding and Batter Base
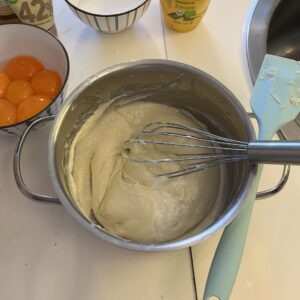
- Heat 70 g Neutral Oil to 70°C (158°F), then take it off heat and sift in 100 g Cake Flour. Whisk until combine.
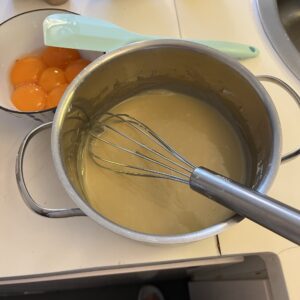
- Add 100 g Milk to the flour mixture. It is normal if if looks blotchy.
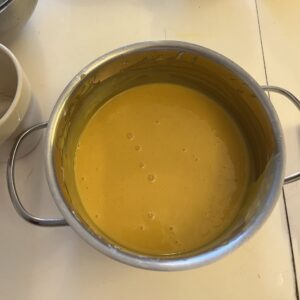
- Add the egg yolks, 40 g Honey, and 1 tsp Vanilla Paste. Mix well to combine.
- Preheat the oven at 150°C (300°F).
Whip up the egg whites
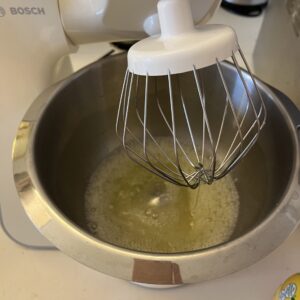
- In a separate big clean bowl, beat the egg whites with an electric mixer on low – medium low speed until big bubbles starts to form. Add 1 tsp Lemon Juice and increase to medium-high speed.
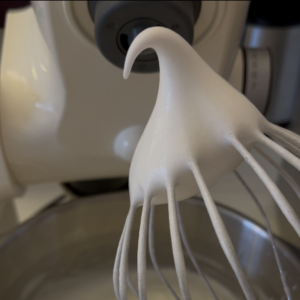
- Gradually add the sugar and continue whisking until firm peaks form. It can take quite some time if you are using hand mixer( > 15 mins). Around 5 mins in a stand mixer.
- Optional: If you see large bubbles, turn the speed down to low and mix for 1 minute. It helps breaking them up.
Combine the whites and batter and start baking
- Boil some water in a kettle (enough to cover the bottom of the larger pan with about 1 cm depth).
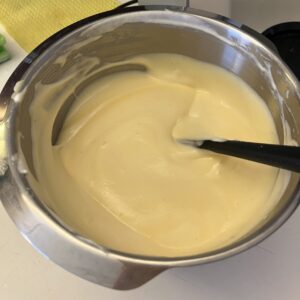
- Scoop out 1/4 of the meringue (whites) into the yolk mixture and mix until smooth, so that it has a more similar consistency to the meringue before completely combine the two.
- Pour the yolk mixture back to the whites and gently mix with a spetula until just combined.
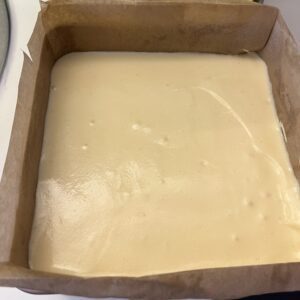
- Pour the batter to the square pan, then tap it against the countertop a few times to get rid of big air bubbles. Smooth the surface with a spetula or bench scraper.
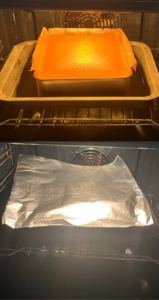
- Place the square pan inside the larger pan and send the whole set to the middle of oven. Then, carefully pour the hot water inside the outer pan, so the inner one is surrounded by a approx. 1cm water bath.If it's easier for you, you can pour the water first then send it to the oven as well. Use lower-middle rack if your oven temp is uneven.

- Bake for 1 hour. Check the surface color at 30-40 mins mark. If it is already quite brown, loosely cover it with aluminum foil to prevent further darkening.
- Once baked, carefully take the cake out of the oven. Then, hold the baking paper on the sides to pull the cake out of the pan and place it on a cooling rack. Peel off the baking paper on the sides right away.
- Once the cake has cooled down, you can cut into it and enjoy! Or move it to the fridge, it tastes even better cold.
Leave a Reply